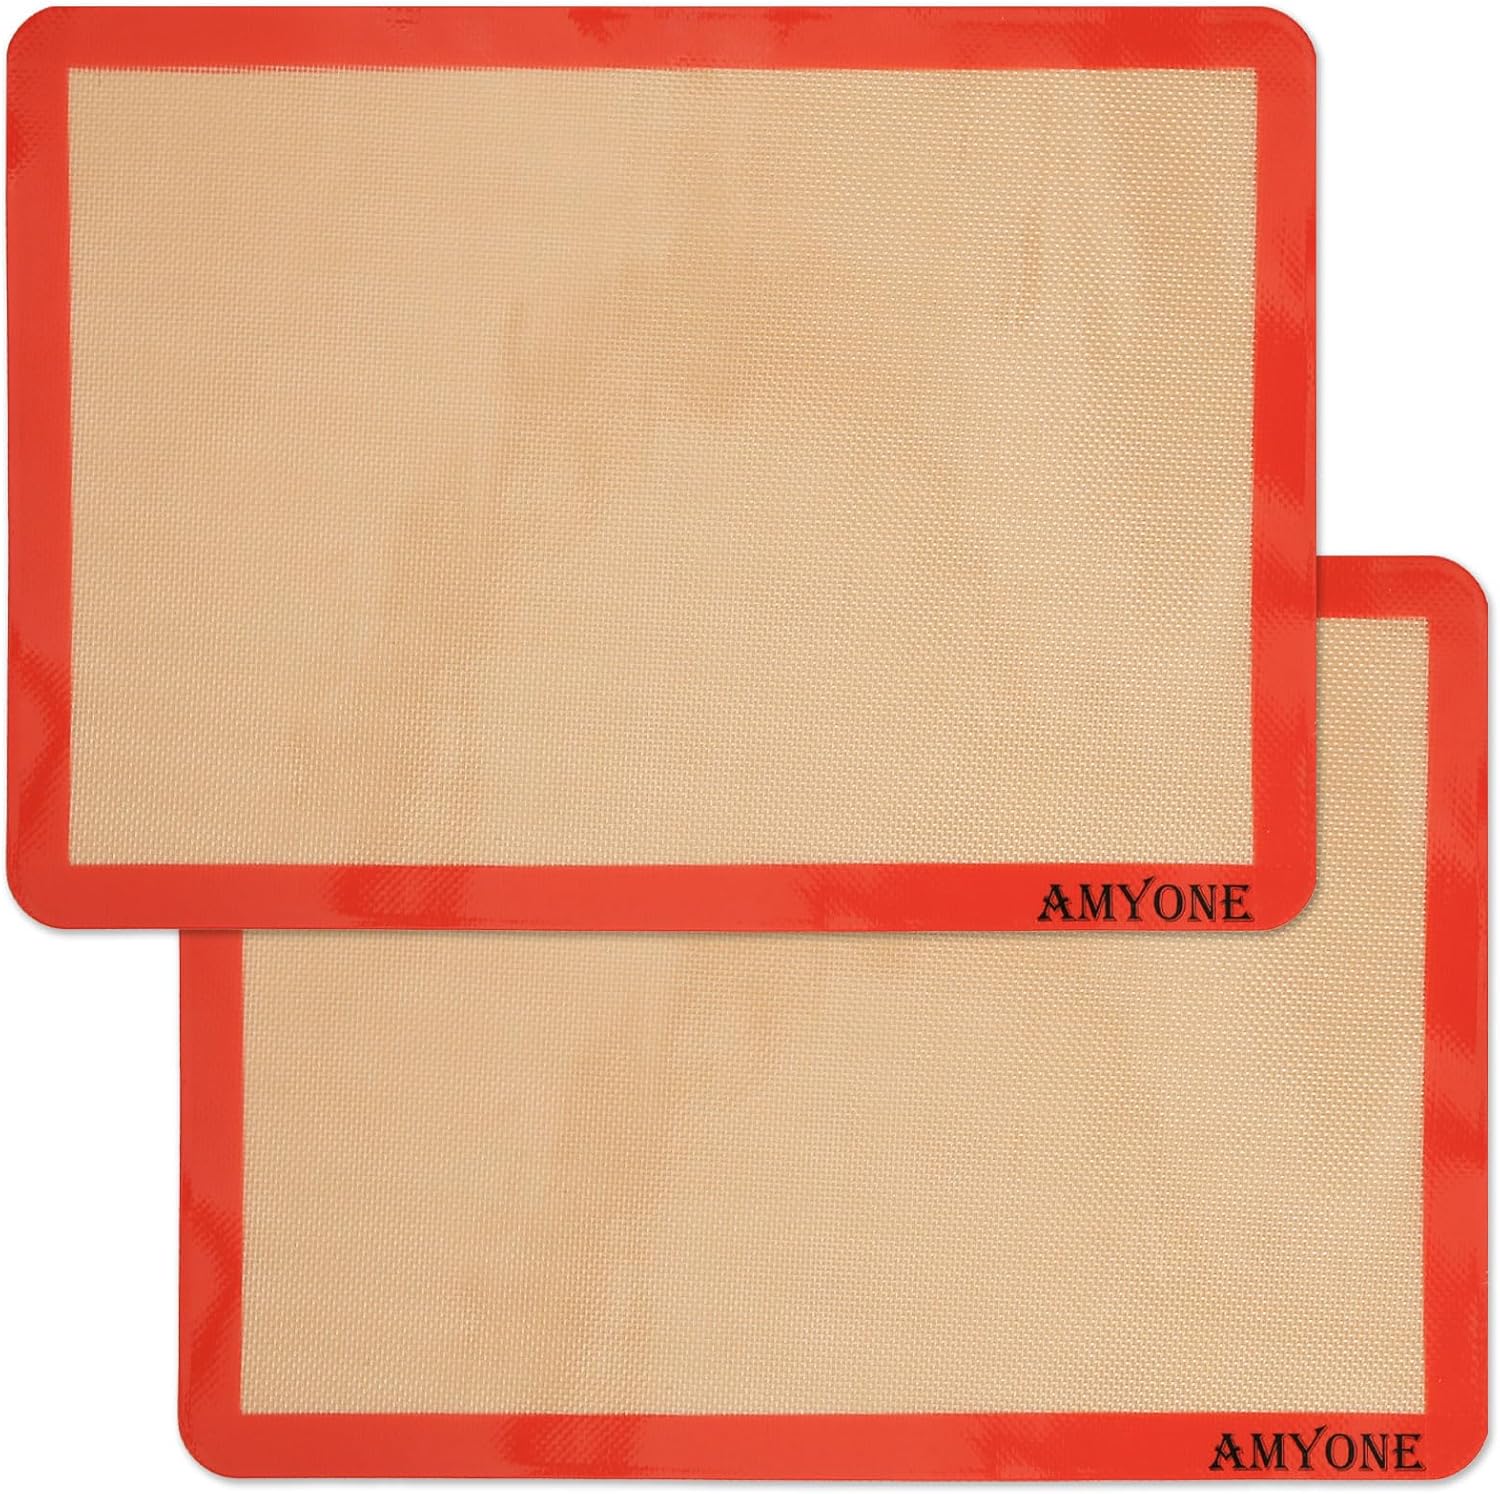
Olive Oil Yogurt Cake: The No-Mixer Morning Cake of 2026
Make olive oil yogurt cake – the 2026 no-mixer morning cake that broke the internet with its “one-bowl, zero-mixer” ease. Greek yogurt, good olive oil, and honey come together on one silicone baking mat for a moist, tender, naturally sweet loaf. Healthy-ish, 50 minutes, endless breakfast occasions.
Ingredients
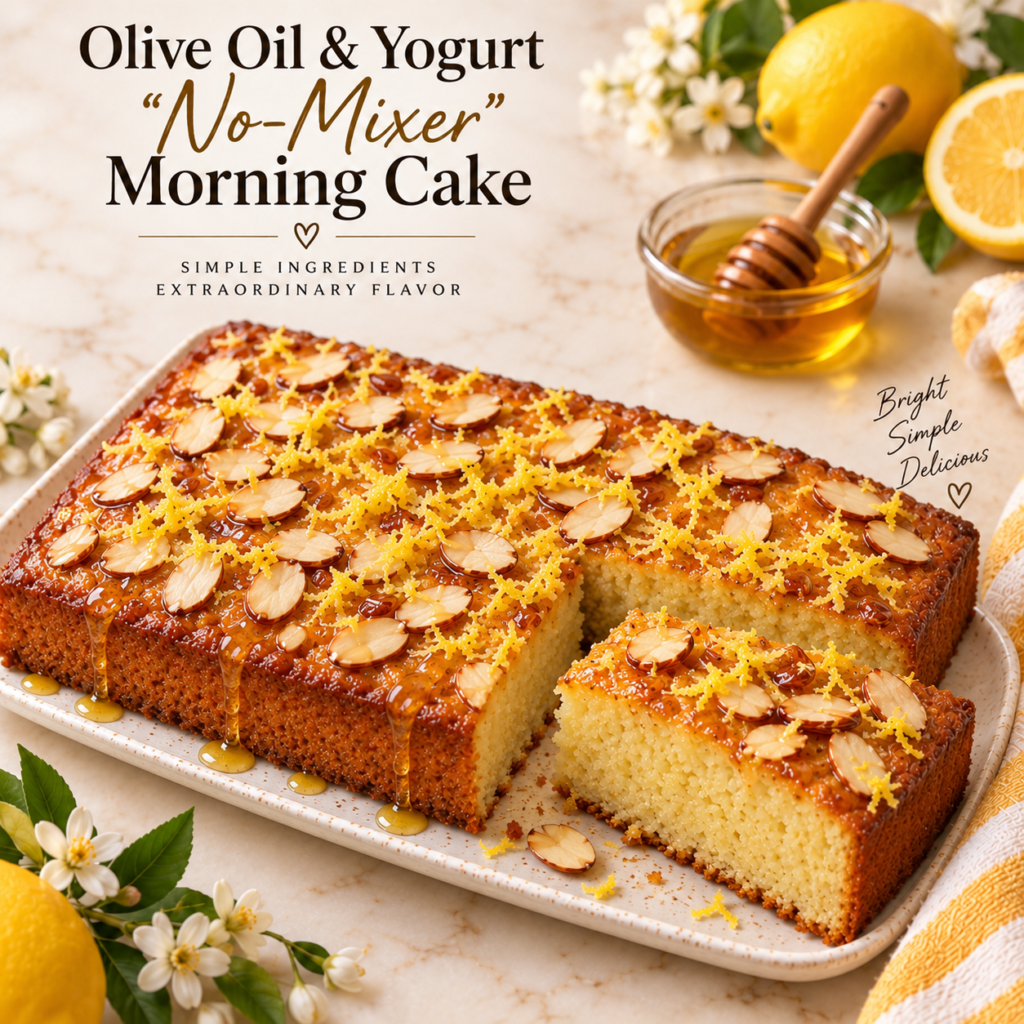
- 1½ cups (190g) all-purpose flour (or half spelt/whole wheat for extra nutrition)
- 2 tsp baking powder
- ½ tsp baking soda
- ½ tsp salt
- 2 large eggs, room temp
- ¾ cup (150g) granulated sugar (or coconut sugar)
- 1 cup (240g) full-fat Greek yogurt, room temp
- ⅔ cup (160ml) good-quality extra virgin olive oil (fruity, not bitter)
- ⅓ cup (80ml) honey
- Zest of 1 lemon
- 1 tsp vanilla extract
- Optional topping: 2 tbsp sliced almonds + extra honey drizzle
- 1 loaf pan
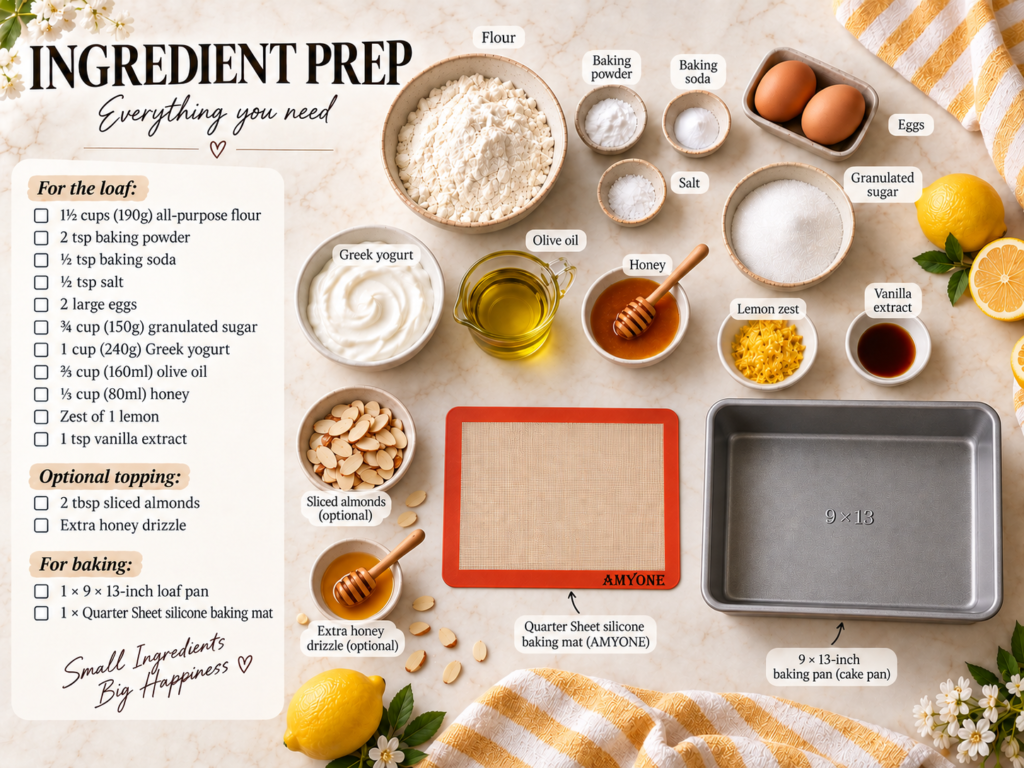
- 1 × silicone baking mat
Instructions
Step 1 – Prep the pan with the silicone mat
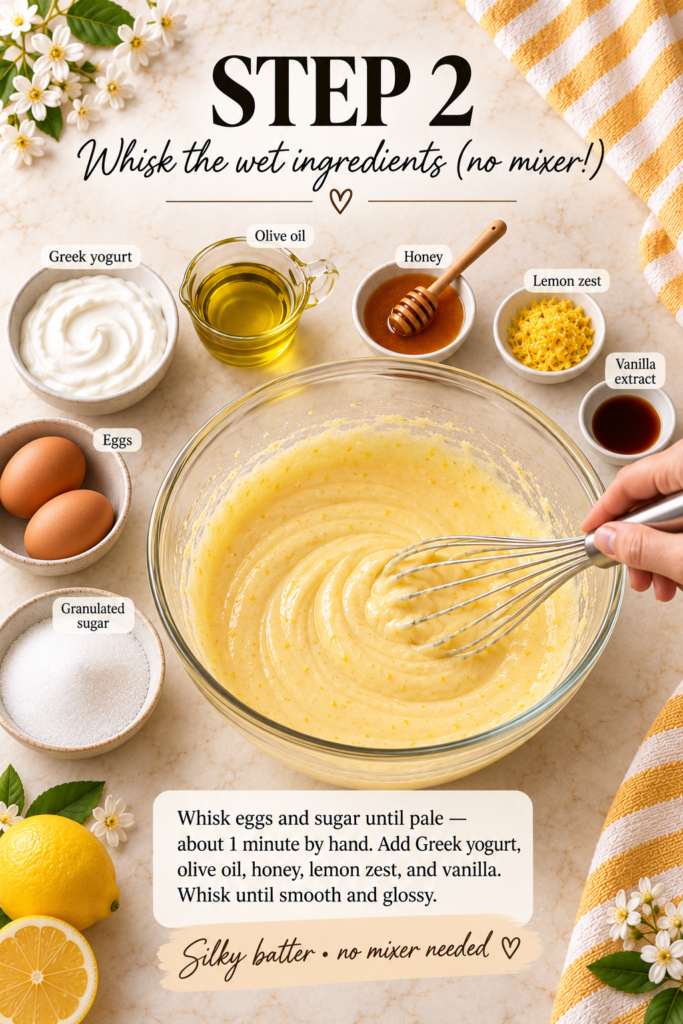
Step 2 – Whisk the wet ingredients (no mixer!)
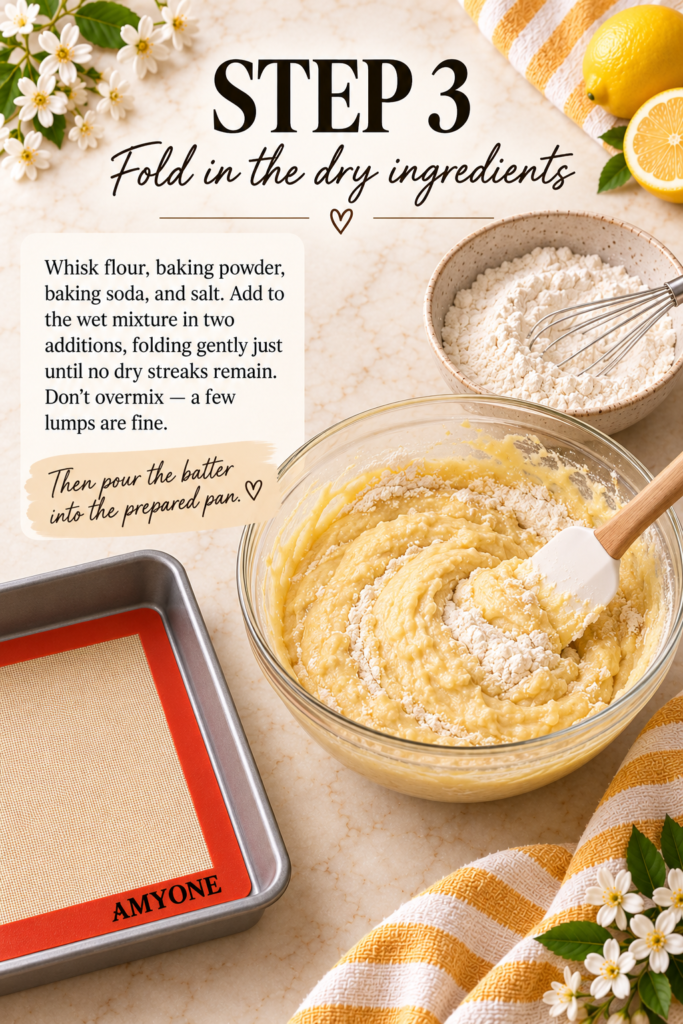
Step 3 – Fold in the dry ingredients
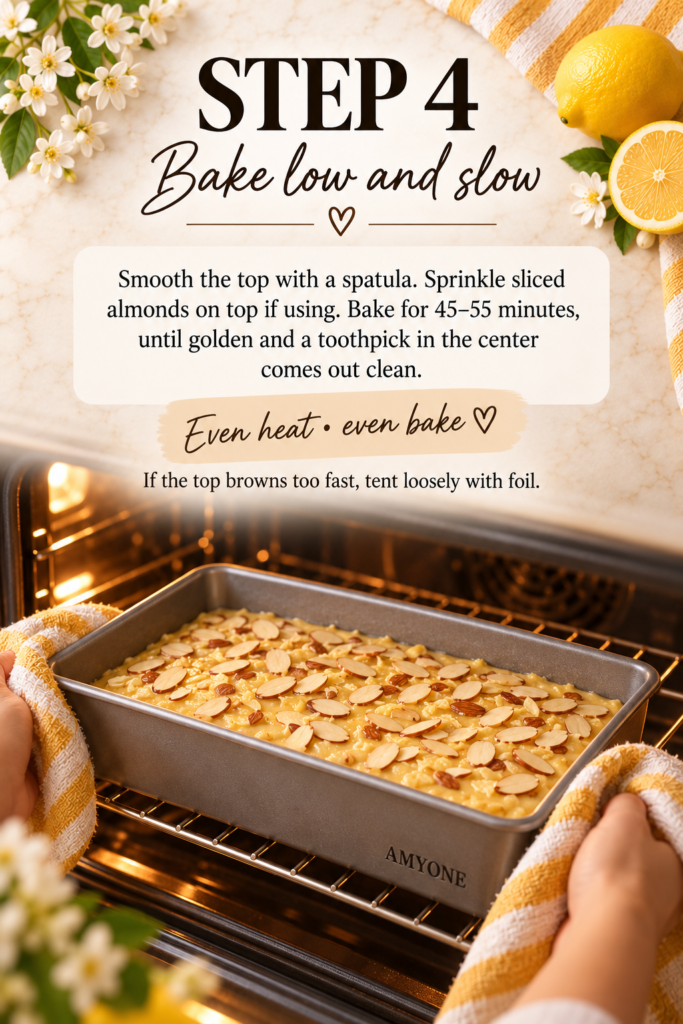
Step 4 – Bake low and slow
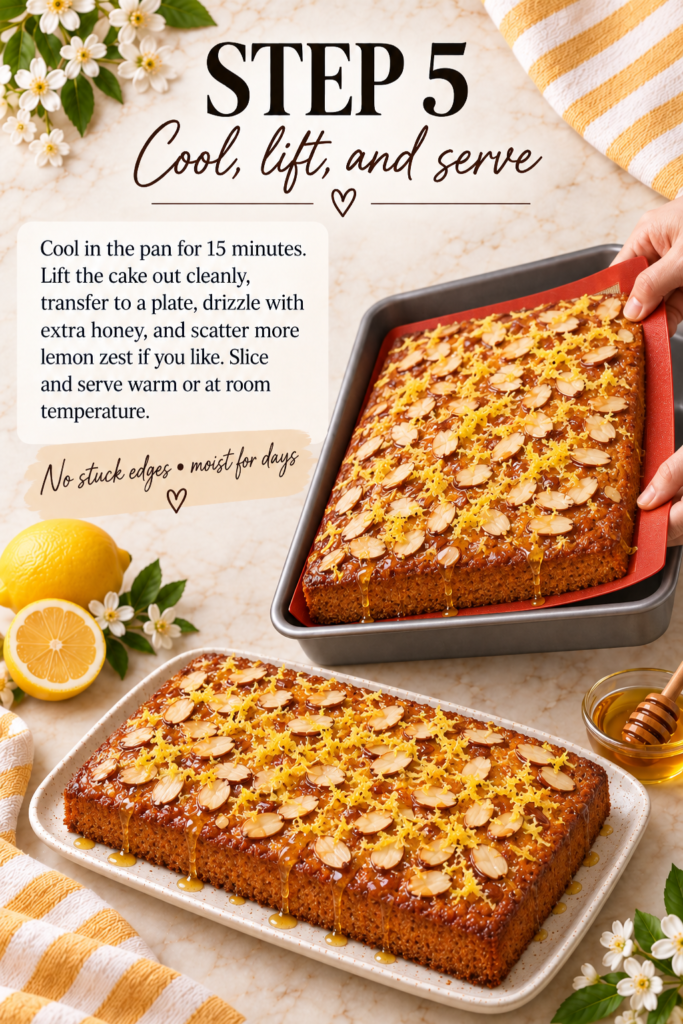
Step 5 – Cool, lift, and serve
Frequently asked questions
Can I really make this without a mixer? Will it be tough?
Yes – and no, it won’t be tough, provided you follow one rule: don’t overmix after adding flour. The original Japanese yogurt cheesecake went viral precisely because a whisk (or even a fork) is enough . Olive oil and yogurt create a tender crumb naturally; overbeating with a mixer would actually develop too much gluten and make it dense. Whisk the wet ingredients well, then fold the dry in gently. That’s the whole technique.
My loaf always sticks to the pan and breaks when I turn it out. How does the silicone mat fix this?
Sticking happens because metal pans have hot spots and baked batter bonds to them. A silicone baking mat creates a non-stick barrier between batter and pan, and its flexibility lets you lift the whole loaf out in one motion – no prying with a knife, no cracked edges. For best results, cut the mat to cover the bottom and let the two long edges overhang like handles; after the 15-minute cool, just grab the overhangs and lift. It’s the same principle professional bakers use with silicone liners, minus the custom pan.
Is olive oil cake healthy? What’s the sugar situation?
“Healthy” is relative, but this loaf is healthier-ish by 2026 standards: it uses olive oil (monounsaturated fat, heart-friendly) instead of butter, Greek yogurt for protein and probiotics, and honey + a modest amount of sugar for sweetness . You can swap the granulated sugar for coconut or date sugar 1:1, and reduce honey to ¼ cup if you prefer less sweet. The lemon zest and yogurt give it plenty of flavor even with less sugar. It’s a far cry from a sugar-bomb coffee cake.
Can I use a different pan – round cake pan, muffin tin, or air fryer?
Absolutely – that’s the beauty of a no-mixer batter, it’s forgiving. Round 8-inch pan: bake 30–35 min. Muffin tin: line with silicone muffin cups (or use the mat cut into circles), bake 18–22 min. Air fryer: use a small loaf pan that fits, line with a silicone mat cut to size, air fry at 320°F (160°C) for 30–35 min, checking early. The mat works in all three because it’s heat-resistant, non-stick, and cut-to-fit .
Why did my cake turn out dense and heavy?
The usual suspects: (1) Overmixed – folding too vigorously after adding flour develops gluten; stop at “no dry streaks.” (2) Cold ingredients – eggs and yogurt should be room temp so they emulsify; cold yogurt can cause the batter to seize slightly. (3) Expired leavening – baking powder/powder soda loses potency; test yours by adding a pinch to hot water (it should fizz). (4) Oven too cool – an underheated oven won’t activate the lift properly. Measure ingredients, fold gently, preheat fully, and use fresh leavening – the cake will spring back light and tender.
How do I store it, and can I make it ahead or freeze it?
The cake stays moist for up to 4 days at room temp, tightly wrapped (olive oil is a natural moisture-retainer). For longer: wrap well and refrigerate up to a week, or freeze (whole or sliced) for up to 3 months – thaw at room temp or warm gently. To make ahead, you can bake the loaf, cool completely on the silicone mat/rack, wrap, and it’s actually better the next day as flavors settle. The silicone mat is dishwasher-safe after, so cleanup is one cycle .